


What’s the best way to keep your beloved tourer spic and span, and what are the recommended products to achieve it? This cleaning guide tells you the best ways to clean your caravan or motorhome, with minimum effort!
Keeping your pride-and-joy caravan or motorhome clean and shiny, not only makes it a nicer place to be (and be seen).
It’ll also pay for itself in the long run. A well-maintained and beautiful vacation vehicle will always make more money than a neglected one when you sell it.
Caravans are much bigger than cars, and take longer to wash and shine. But don’t worry, your time and elbow grease will be worth it.
I like to keep my tow car and the leisure vehicles I use as clean as possible (usually because I’ll be photographing them at some point), but I also want to make that job as easy as possible.
This blog is designed to help you do just that. Let’s start with the exterior panels.
Cleaning a caravan’s exterior


That huge expanse of white or silver panelling can be quite daunting, and that’s before you remember there’s the roof to do too!
But don’t let it overwhelm you, recruit some help, or break the job down into manageable chunks and do it over several weekends.
There’s a debate to rival the Brexit discourse, as to whether you should wash a caravan top-down or bottom up. I’m firmly in the top-down camp, for two reasons.
If you start at the top, the lower parts of the caravan will already have been soaked and ‘sudded’ for some time before you get to them, so any black streaks and stubborn dirt and grime should have been softened.
Also, working top-down leaves clean surfaces behind, while working bottom-up sees dirty water streaming over the areas you’ve just cleaned. Seems like common sense to me, but each to their own.
Ideally, clean your caravan on a cool or moderately warm, dry day. This will prevent the cleaning solutions from drying out before you have a chance to rub them in and wash them off, which creates drying streaks. On hot, sunny days, try to wash your leisure vehicle in the shade, and do it early or late as temperatures are cooler.
Start by rinsing the surfaces you’re cleaning with cold water, a section at a time. Use a hose or watering can, or even a garden sprayer if the dirt is light.
Cleaning a caravan roof

If you start with the roof, you may be surprised how grimy it is, especially around rooflights and vents, where dirt gathers. As the roof is flat, use a lot of fresh water to move the dirty water off the roof as you clean. Don’t rub it into the roof, which will make small scratches.
You’ll need a step ladder or ladder leaned against the top edge of the van. Place a soft cloth between ladder and van to prevent dints or scratches. If you use a stepladder, make sure it is steady. You don’t want to ding the side of your tourer if you lose you balance. I invested in a Henchman stepladder with a wide base, especially for this purpose.
So, wet the roof and, if you prefer not to walk on it (like me), use a long-handled soft brush to reach into the middle, which could be four feet away. Give the entire roof area a robust wash-down with a high-quality detergent. Where the grime or algae is more ingrained around roof furniture, allow plenty of time for softening, before you get stuck in.
If your van’s parked under trees or on a bird ‘flightpath’, your caravan roof may be a little harder to clean, but it’s essential you get both contaminants off, as they can damage the paintwork if left.
Once you’ve got as much dirt and grime of as possible, rinse the roof down well. Then, after using a squeegee and cloth to dry it off, if you’ve got the energy, consider applying a layer of protective polish or ceramic/silicon protectant. This will make future roof cleaning easier.
If your skylights are dirty, take the time to wash them down, then apply silicone lubricant to the rubber seals. These rubber seals are constantly bombarded by the damaging UV rays in the sunlight, so it’s worth looking after them.
UV rays make the rubber weaker by speeding up a chemical reaction that makes it oxidise faster on the seal’s surface. This causes it to lose its mechanical strength, dry out, and crack.

Roof-mounted solar panels quickly lose their power if they get dirty. So, wash the panel surface carefully while you’re up there.
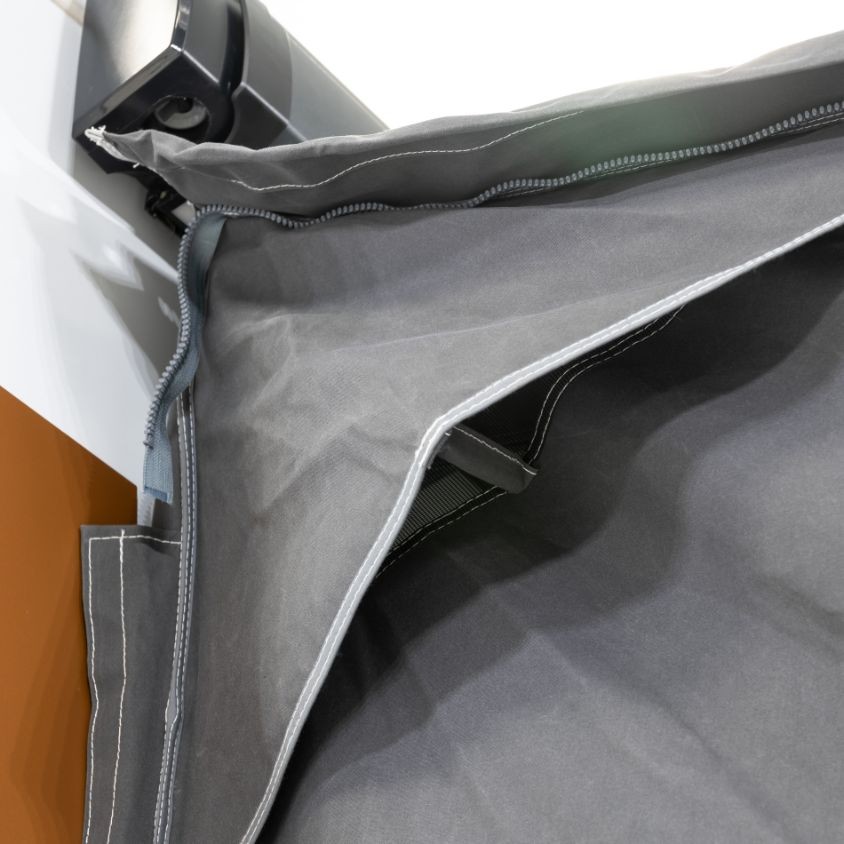
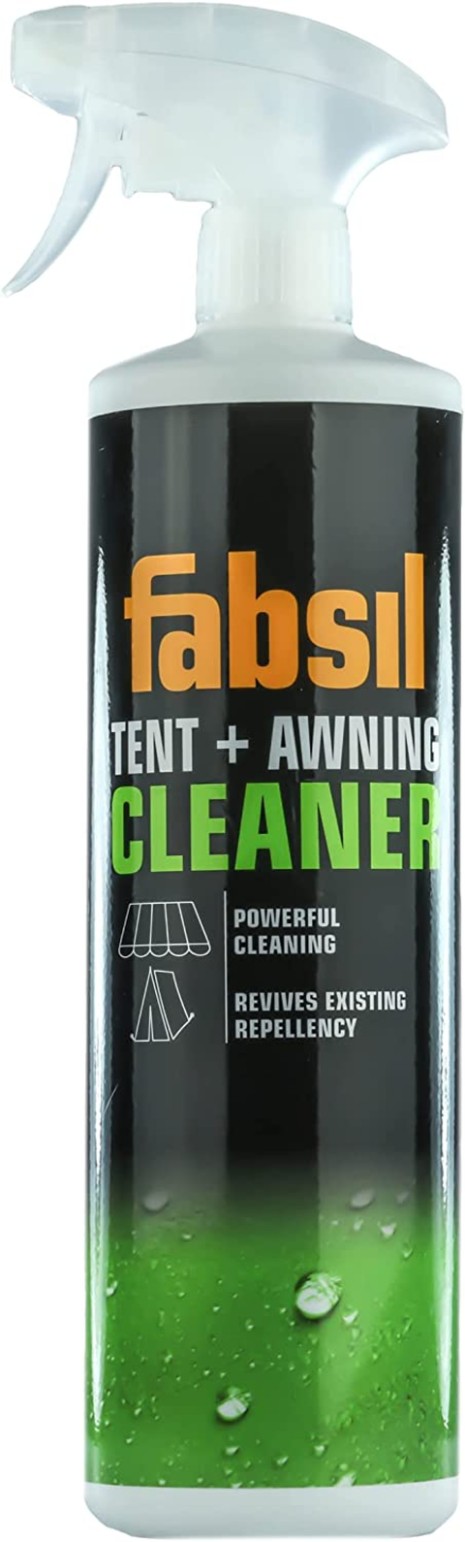
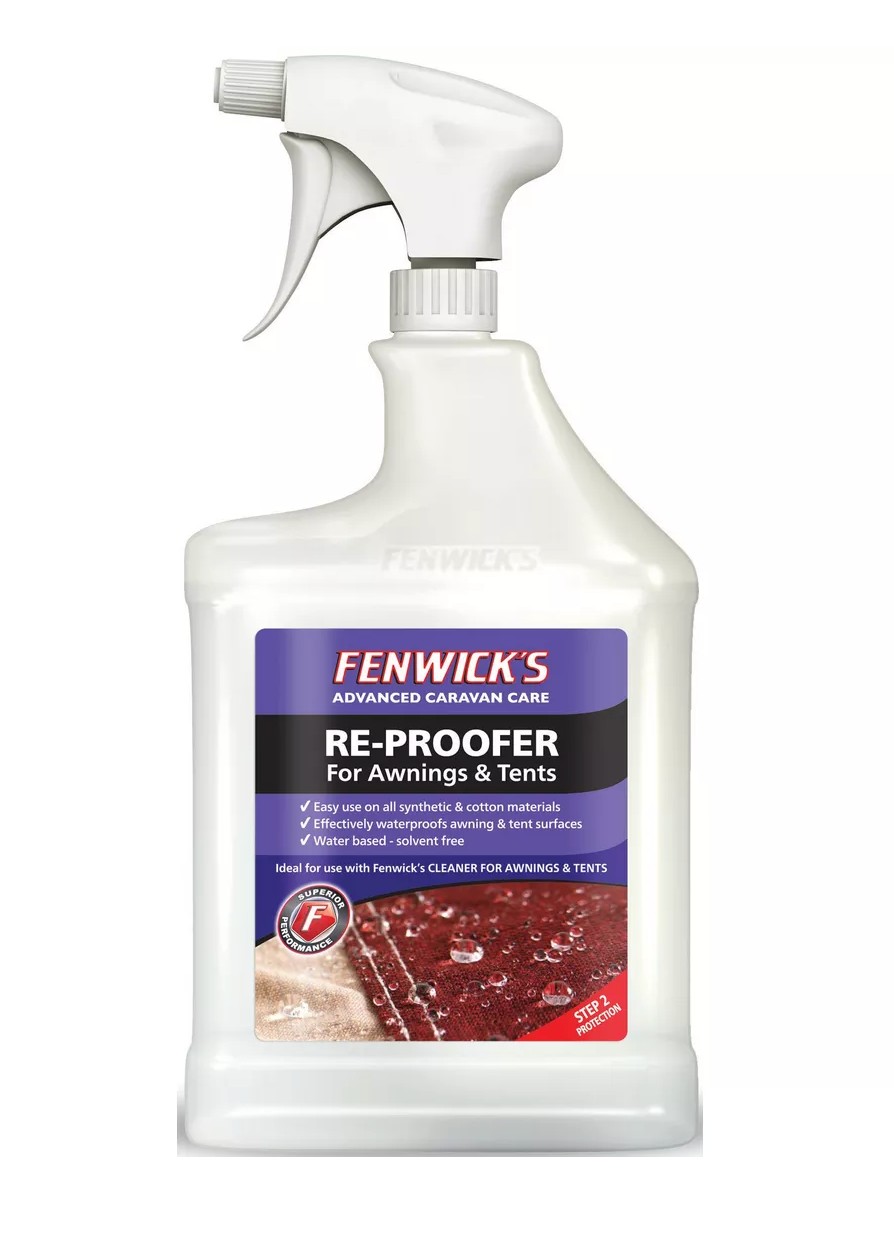
Finally, before you head back to terra firma, consider giving your awning rail a thorough clean. The narrow channel is perfect for trapping dirt and grime, which easily transfers to your awning. Start by washing it with plenty of soapy water, taking the time to get into the crevice along the top of the rail.
At this point, also consider taking a small piece of rag about 3in (75mm) square, roll it up and knot it in the middle with some strong string or cord. This creates a sort of ‘butterfly’ which you can feed into the awning rail and pull through, cleaning the inner channel of the rail as you go.
After one pass, rinse the rag material out, and run it through again in the opposite direction. You’ll be amazed what comes out! I know a few dedicated DIYers who like to silicone spray the rail channel to make it easier to pull the awning cord through! I’m not quite that diligent!
Cleaning caravan side panels

With the roof looking spic‘n’span, it’s time to move onto the side panels.
Again, ensure they’re thoroughly soaked and rinsed before you start with a cloth, brush or sponge. This removes the worst of the dirt and softens the rest.
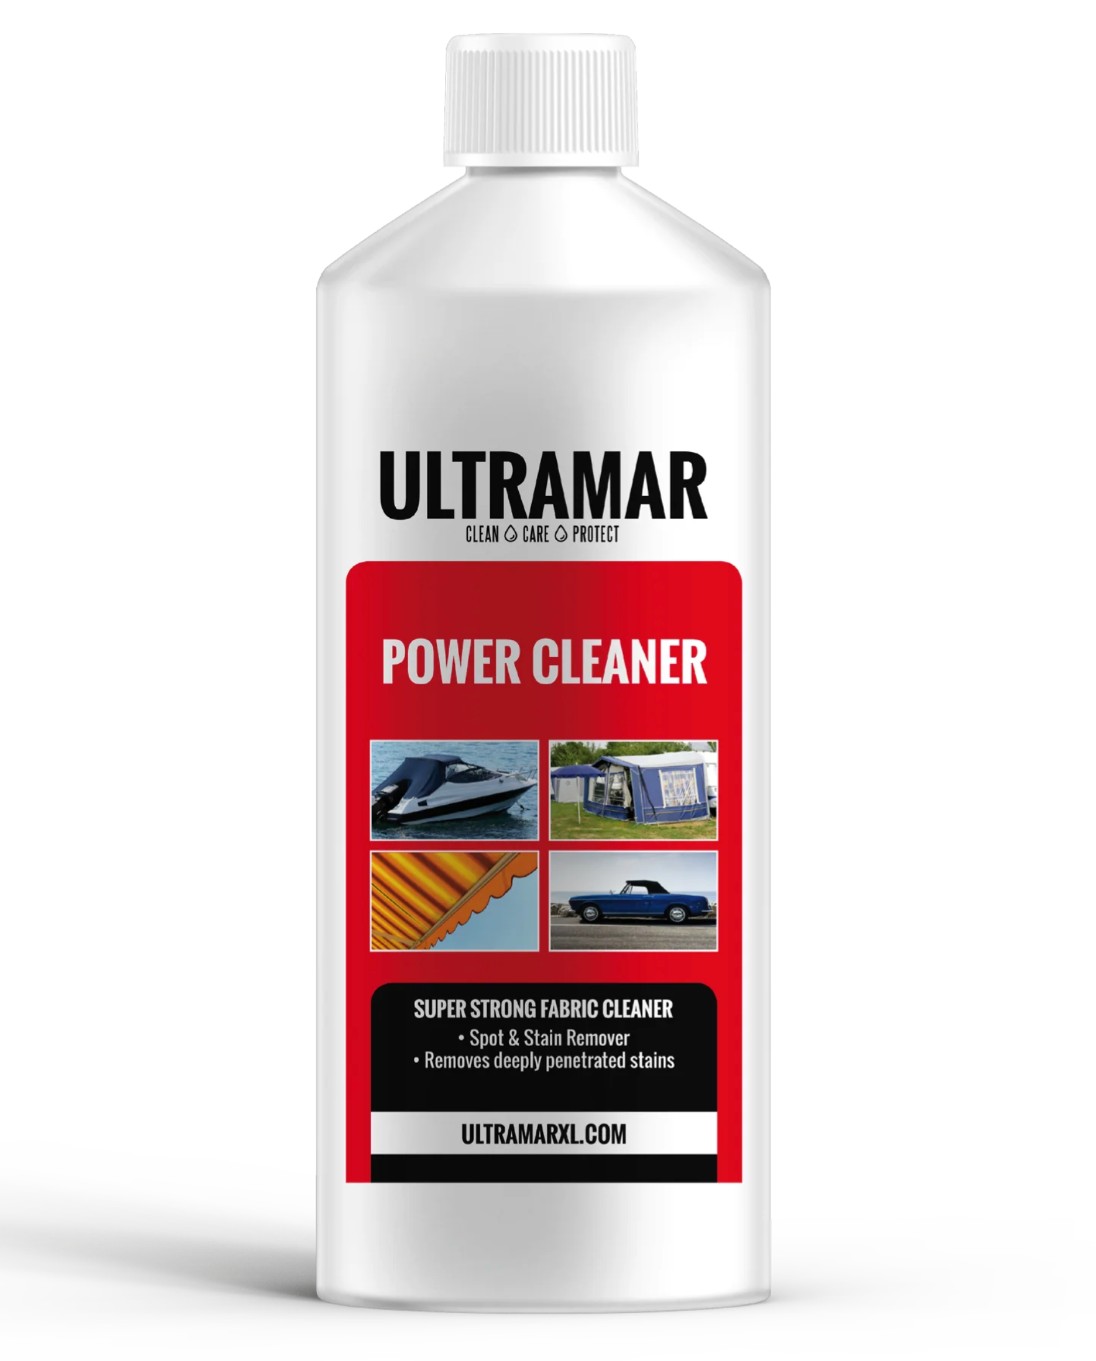
It’s generally at this point that you’ll meet the bane of every caravanner’s life, the black streak. However, before you deal with those, you’ll notice that they are usually over-sprayed with everyday grime and traffic film. Luckily, this tends to be somewhat easier to remove with plenty of water, a good-quality caravan cleaner or shampoo and a sponge.
As tempting as it is, don’t use a high-powered pressure washer to clean you caravan, at least not at close range. The jet’s power is strong enough to break window seals and caravan decals. It could even loosen vents and the pop-open covers for your water inlet and outside barbecue point.

To be honest, I have used a jet-washer to clean a caravan in the past, but only from about ten feet away, which meant the power was dissipated and the spray very dispersed. Even then I kept it away from window seals.
So, soak the side of the caravan, or perhaps a third or half of it on a warmer day, then use a sponge or mitt and a bucket of soapy clean water to get the superficial dirt off the side panels. After rinsing it down, you’ll likely be left with those resilient black streaks, which will need some special treatment.

These black stripes usually track down the sides of the caravan from the windows, awning rails, and grab handles, etc. Not only are they unsightly, but they’re often very ingrained and can be resistant to all but the strongest cleaning products…and a large dollop of elbow-grease.
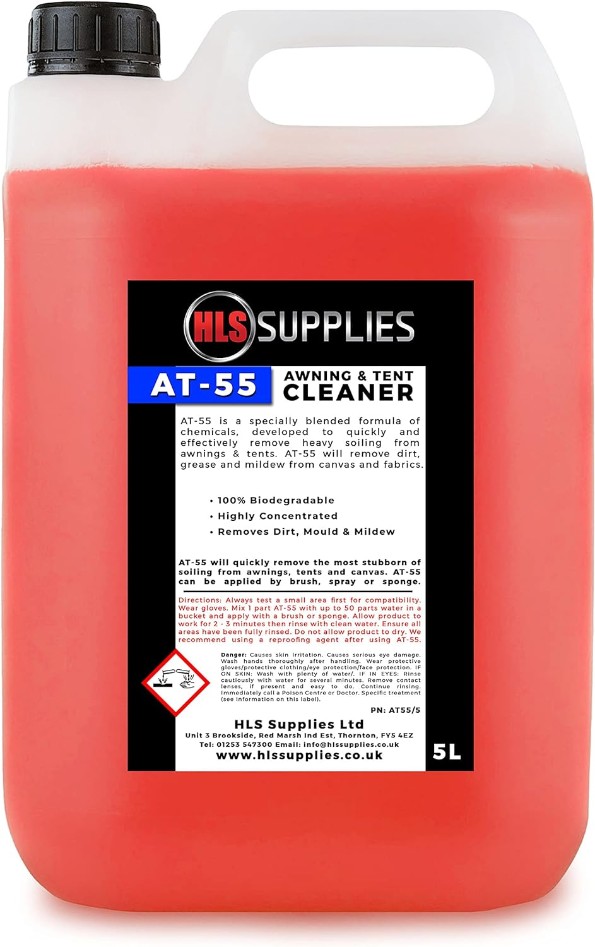
In a test of six products, all performed pretty well, but one stood out as the clear winner, simply because it took much less effort to remove the streaking. That product was Muc-Off Caravan & Motorhome Cleaner, which came in a one-litre spray bottle, but can also be bought in five-litre bulk canisters.
I spray it on, leave it for a minute, then give it a vigorous wipe, and the black streaks are gone. Other cleaning products, even bespoke Black Streak Removers, didn’t make the job quite as easy.

With the offending stripes removed, give the panel a final rinse, then dry it off with a soft, lint-free cloth. Modern microfibre cloths are excellent for this purpose.
Your caravan side panel will now be gleaming, but the dedicated neat-freak can go a stage further and buff the panel with a specialist polish. This won’t only improve the shine, but it will add a layer of protection and make the next wash that bit easier. I’d like to say it prevents future black streaking, but, in my experience, those little blighters will be back, albeit perhaps a bit easier to remove.
The best approach to black streaking is prevention, and that means being extra diligent in cleaning the awning rail and around windows, handles, lockers, vents, cowls and covers, where grime can build up, then run down the side of the caravan. Bespoke cleaning brushes are available for this purpose, but a toothbrush can often do just as good a job. The more dirt and muck you can remove from around these ‘appendages’ the less streaking you’ll see.

Decal cleaning
Take care cleaning around caravan decals and graphics. Don’t use harsh chemicals as they can cause fading or discolouration, and be careful that you don’t clean them so vigorously that the decals start to separate.
Use a soft cloth or brush to clean them with plenty of soapy water. Alternatively, consider using Erase Away foam pads which are non-abrasive, don’t contain chemicals, and are ideal for getting into nooks and crannies. A pack of 12 pads costs around £20 on Amazon.

Chalky fibreglass
On older caravans, the fibreglass panels can dry out and become quite chalky or dusty, due to oxidation. If this occurs, the best treatment depends on the level of oxidation. A quick polish will remedy the dry, dusty look, but only temporarily.
For heavier oxidation (which looks very flat and dusty), and a more enduring result, consider ‘cutting’ the surface back with a cutting compound, such as Meguiar’s Ultimate Compound (£13.99 for 450ml).
A rotary buffer with a wool pad will speed up the process. Wipe the residue away with isopropyl or a wax remover, then, if the chalkiness is gone, buff the area with a good-quality wax polish.
Cleaning windows

Take care when cleaning your windows that you don’t create swirling and micro-scratches, by rubbing any microscopic grit and grime on your sponge into the plastic surface of the windows.
One way to avoid this is by using the double-bucket system. This involves having two buckets, one with your water and detergent solution and another with plain water. The latter is for rinsing your wash-mitt or sponge before applying another sponge full of cleaner to the van.
Dedicated polyplastic/acrylic window cleaning solutions are available from the likes of Autoglym, Renovo and Nigrin.
If your windows are already scratched, try Fenwicks’ Windowize Scratch Remover to minimise or eradicate them.
Cleaning your caravan’s A-frame

Your tourer’s hitchhead and A-frame take the brunt of the grime and filth thrown up by the towcar, or sucked in by its vortices.
Clean the entire area with a good-quality detergent and degreasant if required, and consider relubricating the moving parts (hitch handle, handbrake, jockey wheel and breakaway cable) afterwards.
Cleaning motormovers

Motormover units are positioned lowdown near the wheels, so inevitably get sprayed with road muck and grime. Keep them clean with regular wash downs, especially if you tour in winter on gritted roads.
Clean the nooks and crannies with a small brush, and consider oiling the moving parts by spraying them with a lubricant like WD40.
The same treatment applies to your corner steadies.
Cleaning your towball

Use a wire brush or piece of wet-and-dry/glasspaper to remove any rust or contamination from your car’s towball. You really don’t want any contaminants transferring to the friction pads inside your AL-KO stabiliser hitch head, as this will make it less effective and can cause annoying squealing.
A towball cover will prevent the worst oxidation, but, if you coat it in a preserving lubricant in between tours, you must be sure to remove all traces of the oil or grease before you hitch the caravan up again.
Tyre dressings

Finishing off you caravan-cleaning regime by dressing the tyres will not only make it look much better, it will preserve the tyres and minimise any degradation caused by the UV rays in sunlight. I use Meguiar’s Tire Gel (£12.99) and apply it with a rag.
Cleaning your caravan toilet
Clean your caravan toilet with a gentle liquid or foam cleaner like Thetford’s bathroom Cleaner (from £3.95 for 500ml) or Thetford Toilet Bowl Cleaner (£7.50 for 750ml). Both are safe for use on plastic surfaces.
Cleaning a caravan toilet cassette


Always clean and rinse your toilet cassette in between tours, and as often as you can when away. There are dozens of cleaning solutions to choose from, with big names like Thetford and Blue Diamond, supplemented by many cheaper brands you may not have heard of.
Empty your cassette, then rinse it out.
Before replacing it, add 200ml of cleaning fluid and a litre of water to the cassette and give it a good shake, ensuring the fluid coats the entire insides of the cassette.
After emptying that out, I add another small dose of undiluted toilet fluid and swill it all around the cassette interior, before putting it back in its hatch, all disinfected and smelling like a Provençal lavender field on a warm summer’s day!
Cleaning a caravan interior

Regular domestic cleaning products and tools will work just as well inside the caravan as at home, so I wouldn’t invest unnecessary cash in buying ‘specialist’ products just for that purpose. The only exception might be the bathroom cleaner, especially if your van’s loo and basin is plastic rather than porcelain.
The cooker and hob, fridge, upholstery, vinyl flooring and loose-fit carpets can all be cleaned with products from the home.
If you tour for long periods and need to take a vacuum cleaner with you, I’d recommend a (fully-charged) cordless model, which will make the task easier in an enclosed space.
We have a G-Tech Multi Mk2 handheld vacuum cleaner (from £150) which is compact and powerful, and ideal for the job. That said, once home, you can’t beat the extra suction of a corded vacuum, with its more powerful motor, for a really deep clean.
Caravan cleaning products
Autoglym – autoglym.com
Fenwicks – raymondjamescaravans.co.uk
Muc-Off – muc-off.com
Cara Finesse – ebay.co.uk
Aldi – aldi.co.uk (product supply is seasonal)
Meguiar’s – meguiars.co.uk
Paintseal – paintsealdirect.com
Diamondbrite – diamondbrite.co.uk
Thetford – thetford-europe.com
G-Tech – gtech.co.uk
WD40 – wd40.com
Renovo – renovointernational.com
Nigrin – nigrin.com
Henchman step ladders – henchman.co.uk
Caravan cleaning tips


• Don’t cook smelly and greasy food in the caravan
• Post caravan spring clean, consider lubricating all window and door seals with a silicone lubricant, or if you don’t have any, rub them with olive oil.
• While using a caravan cover won’t completely remove the need for washing your caravan, it will minimise the amount of dirt, grime, sap and bird muck on your tourer, and will make cleaning it easier.
• Ceramic paint protectant finishes, like those from Paintseal and Diamondbrite, fill the microscopic pores in you caravan’s paint finish, preventing dirt and grime from getting in. If applied and maintained properly, they will save many hours of caravan scrubbing over the time you own the van.
• Both companies also offer spray-on Teflon upholstery protectants, which can save you a lot of grief and money in the event of a major spillage.
•After washing your caravan, consider giving each lock and hinge a quick squirt of WD40. The spray cans with a thin application tube let you spray the lubricant directly inside the lock mechanism.
• Clean all scraps, crumbs, and other food debris from the caravan before it goes into storage, as this will make it less likely that mice and other hungry rodents are attracted inside. Although small, these little insurgents can cause expensive damage to electrical wiring and upholstery.
• Take car when cleaning on a stepladder that you don’t lean in and scratch the side oif the van with belt buckles, zips or jeans rivets.
• While cleaning the van, take the time to check out the panel joins and sealant for any signs of damage or deterioration. You may be able to pre-empt a water-ingress issue.
• Unless you have a particularly stubborn stain, avoid using abrasive cleaning products and tools. Such products can abrade the protective top-coat on a caravan’s finish.